How to make a Planner on Google Sheets
Do you want to manage your work and life in an organized and efficient way? Would you like to track the progress and outcomes of the goals you set? Are you looking for a simple yet powerful tool to help you accomplish these tasks?
If you're facing those problems, then the Digital Planner is the answer you're looking for. FinUid will guide you how to make a Planner on Google Sheets in the following article. Please follow this article.
What is Google Sheets?
Google Sheets is an online spreadsheet application that enables you to create, edit, and share spreadsheet files across multiple devices. It offers numerous features and advantages, such as:
-
Free and User-friendly: Google Sheets is both free to use and easy to navigate.
-
Compatibility with various file formats: It supports various file formats like Excel, CSV, PDF, ensuring versatility in document handling.
-
Support for multiple formulas, functions, and charts: Google Sheets provides robust support for a variety of formulas, functions, and charts, facilitating efficient data computation and presentation.
-
Collaboration capabilities: Users can collaborate in real-time, allowing multiple individuals to work simultaneously on a spreadsheet. It also retains an edit history for reference.
-
Automatic storage and data synchronization: Google Sheets seamlessly stores and synchronizes data on Google Drive, ensuring automatic backups and accessibility from any connected device.
-
Integration with other Google applications: It can be easily integrated with various other Google applications such as Google Calendar, Google Forms, and Google Docs, enhancing overall productivity and workflow.
Google Sheets is an online spreadsheet application
By combining a Digital Planner with Google Sheets, you can leverage the advantages of both tools to create a perfect Digital Planner tailored to your needs. You have the flexibility to design the interface according to your preferences, input content as required, and utilize the features of Google Sheets to make the digital planner more dynamic and visually appealing.
Why should you Make a Planner on Google Sheets?
There are various tools available for planning on Google Sheets, but the primary tool used by FinUid for planning on Google Sheets is the Digital Planner.
A Digital Planner is a type of digital notebook that aids in planning, note-taking, tracking, and evaluating activities in both work and life. You can create a digital planner on various platforms, such as computers, phones, tablets, and more.
Digital planners offer numerous benefits, including:
-
Organizing time and prioritizing tasks.
-
Assists in scheduling and prioritizing important tasks.
-
Setting and pursuing goals.
-
Helps in identifying and pursuing both large and small goals.
-
Facilitates control over expenses and financial management.
-
Supports health care routines and the development of hobbies.
-
Allows easy storage and retrieval of data.
-
Provides a platform for reflection and self-improvement.
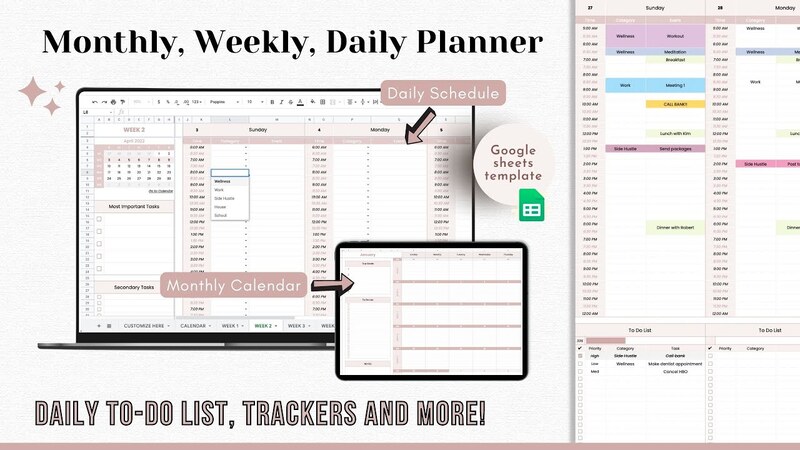
Digital Planner on Google Sheets
Why do I use Digital Planner on Google Sheets to manage work?
Managing work efficiently is crucial in today's fast-paced environment. With the abundance of digital tools available. I've found the Digital Planner in Google Sheets to be a standout choice for organizing and streamlining your work:
-
Flexibility across devices: The Digital Planner on Google Sheets allows me to access and update my plans seamlessly across various devices. I'm working on my computer, tablet, or smartphone, the flexibility ensures I can stay on top of my tasks anywhere, anytime.Whether
-
Customizable layout: One of the main advantages is the ability to tailor the planner to my specific needs. Google Sheets provides a versatile platform where I can customize the layout, incorporate formulas, and design the planner to match my workflow.
-
Real-Time collaboration: Google Sheets' collaborative features enable real-time updates and edits. This is particularly useful when working on team projects, as it fosters efficient communication and ensures everyone is on the same page.
-
Efficient time management: The Digital Planner assists me in organizing my schedule effectively. I can set priorities, allocate time for essential tasks, and maintain a clear overview of deadlines, ultimately contributing to better time management.
-
Goal setting and tracking: The planner facilitates goal setting and tracking, helping me identify both short-term objectives and long-term aspirations. This feature keeps me motivated and aligned with my professional milestones.
-
Expense tracking and financial management: Integrating financial aspects into the Digital Planner allows me to control expenses and manage finances efficiently. This holistic approach ensures a comprehensive overview of both work and financial aspects.
Why do I use Digital Planner on Google Sheets to manage work
How to make a planner on Google Sheets with Digital Planner?
In this guide, we will guide you through the steps to make a planner in Google Sheets by using the Digital Planner tool. Follow the steps below to know how to make a planner in Google Sheets for your personalized planner:
Step 1: Sign in to your Google Account
Begin by logging into your Google account. This ensures that your planner will be saved on Google Drive, allowing easy access and synchronization across devices. Then, open a blank Google Sheet.
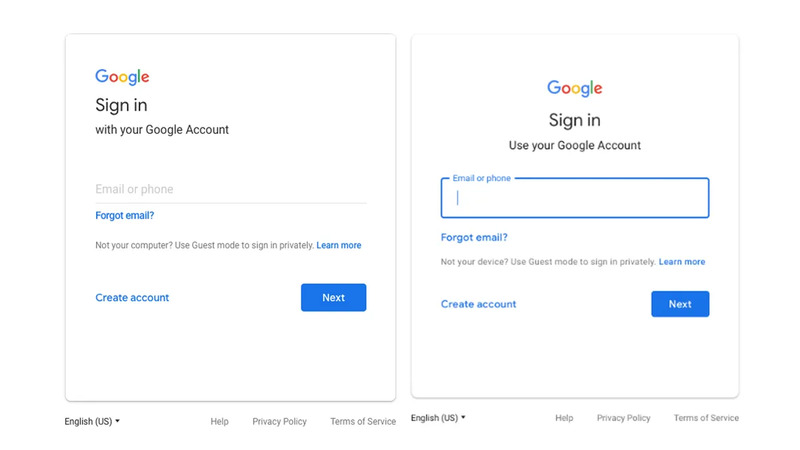
Logging into your Google account
Step 2: Input text into the digital planner
-
This involves adding labels for the header, date, top priorities, to-do list, notes, and time slots (for scheduling the day).
-
Label the various sections of the planner with text (as shown in the image below).
-
Enter "6AM" in cell B6. Observe how it automatically changes to "6:00AM."
-
With cell B6 selected, hover your cursor over the bottom right corner of the cell until it transforms into a plus symbol.
-
Click and drag your cursor down to cell B22, extending the time to 10 PM.
-
Choose the initial cell for the to-do list checkbox. Navigate to the Insert tab and choose Checkbox from the dropdown menu.
-
Drag down the bottom right corner of the cell to replicate the checkbox in other cells.
-
Click on "Add rule" in the right pane that appears.
-
Under Criteria, choose "Is a valid date." If the data is invalid, select "Reject the input." Click Done to save.
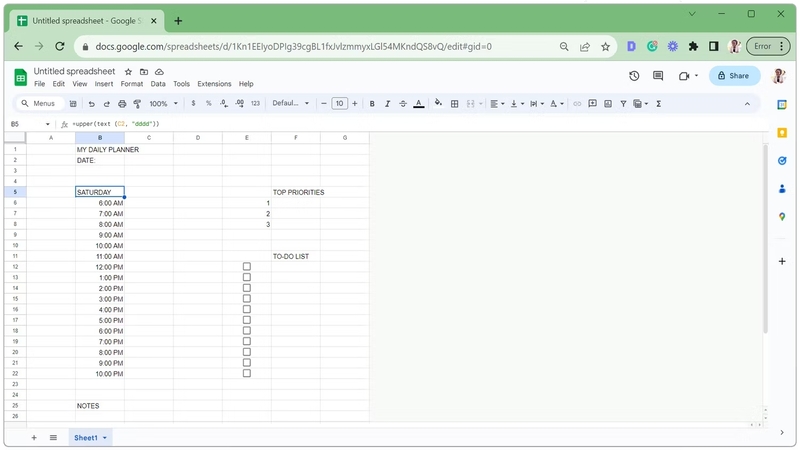
Input text into the digital planner
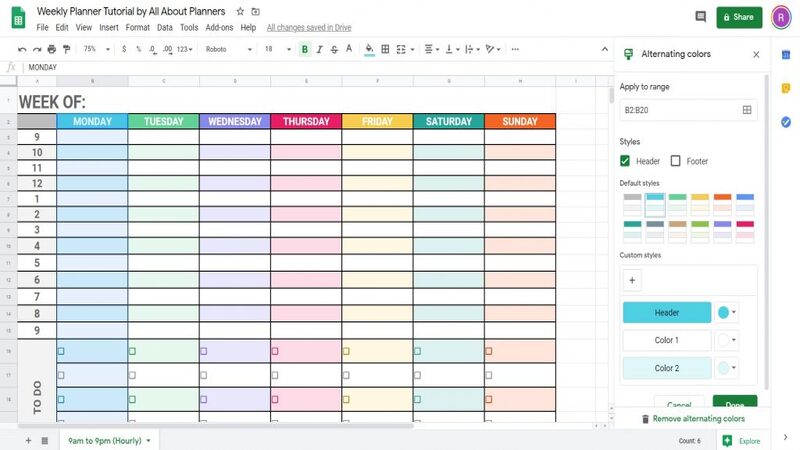
Step 3: Customize the Appearance of the Digital Planner
Currently, the digital planner has a rather plain and fundamental appearance. Let's implement some formatting tips in Google Sheets to enhance its visual appeal.
-
Adjust the column widths according to the image below or your preferences.
-
In the scheduling section, choose the cells, click the Borders icon, and select All borders.
-
Choose a cell in the top priorities section, click the Borders icon, and opt for the Bottom border.
-
Click and drag from the cell's bottom right corner to extend the bottom border to other cells. Repeat this for the to-do list section.
-
Select the header cells as indicated below and click the Merge cells icon.
-
Repeat the previous step to merge each of the highlighted sections below.
-
With the notes cell selected (as depicted below), set Vertical align to Top and Text wrapping to Wrap. This ensures that the notes you enter start at the top and fit neatly within the cell.
-
Go to View, Show, and uncheck Gridlines to hide them. Choose the cells you want to color, click the Fill color icon, and select a color. Optionally, apply alternate colors to the scheduling section.
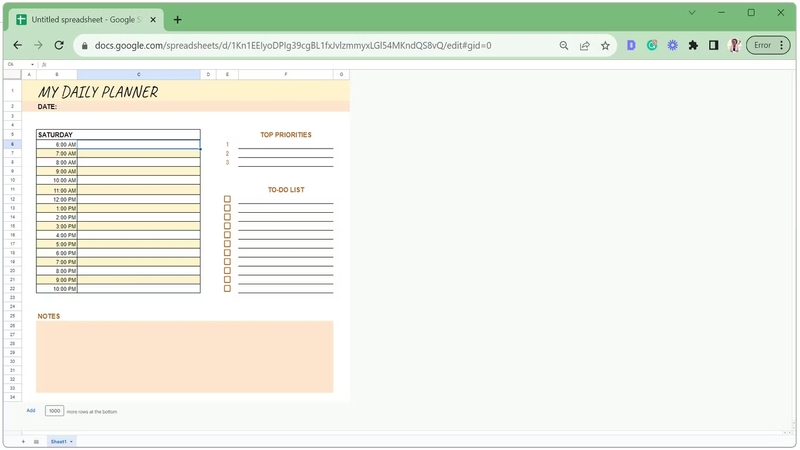
Customize the Appearance of the Digital Planner
Step 4: Implement Conditional Formatting for the Digital Planner
In this planner, we'll utilize strikethrough formatting for completed tasks in the to-do list section. This provides a quick visual indication of what has been accomplished and what remains for the next day.
-
In the to-do list section, select the cells adjacent to the checkboxes.
-
Navigate to the Format tab and choose Conditional formatting.
-
Under Format rules, opt for Custom formula is.
-
As this is a relative cell reference, it automatically adjusts to correspond with each highlighted cell.
-
Configure the text formatting to Strikethrough with no fill color.
-
Click Done to save the changes.
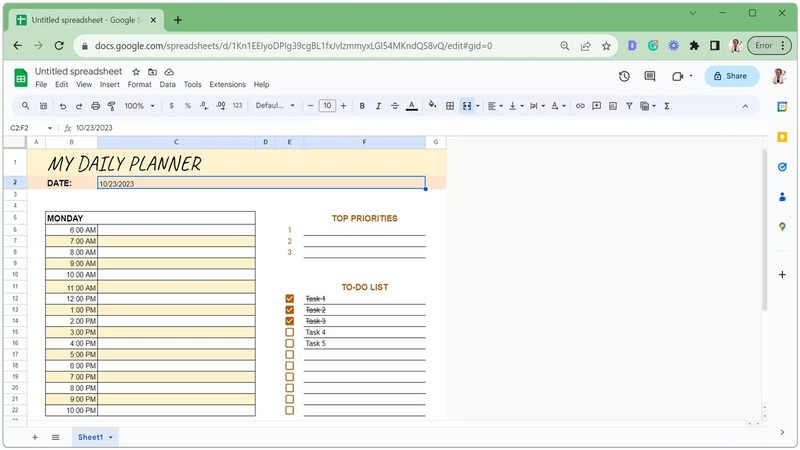
Implement Conditional Formatting for the Digital Planner
Step 5: Save and access anytime
Google Sheets automatically saves your progress, ensuring that your digital planner is accessible from any device with an internet connection.
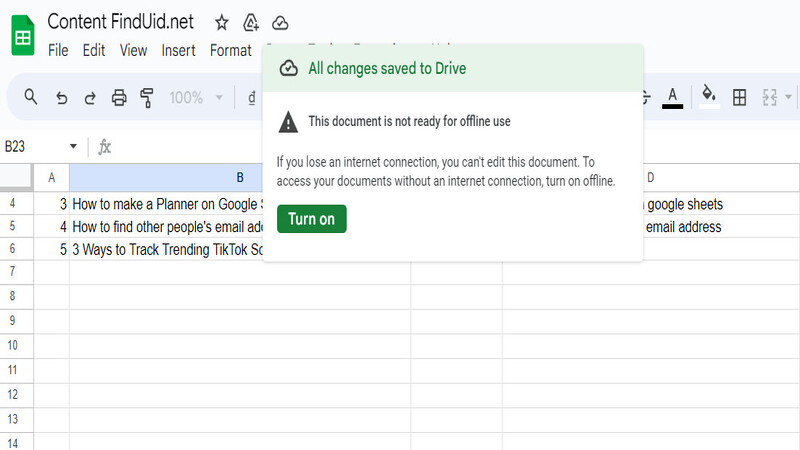
Save and access anytime
The article of FiniUd has provided you with information on how to make a planner on Google Sheets. Google Sheets, coupled with the functionality of Digital Planner, offers a versatile and customizable solution for organizing your tasks and schedules. Digital Planner not only helps you organize your schedule but also allows for easy adjustments and personalization to suit your unique needs.